Jenkins Setup
First, we have to launch a t2.micro instance with the Security Groups TCP 8080 enabled because Jenkins will use port 8080 by default. Alternatively, we can allow All Traffic.
I haven't used any key pair. Instead, we'll generate the public keys manually in a further section.
connect to the instance you've created above.

Switch to the root user using "sudo -i".
first, we need to install Jenkins dependency which is java.
here we are installing java-openjdk11
yum list java\*
The above command is used for available java packages in the yum package.
yum install java-11-amazon-corretto.x86_64 -y

sudo wget -O /etc/yum.repos.d/jenkins.repo https://pkg.jenkins.io/redhat-stable/jenkins.repo

sudo rpm --import https://pkg.jenkins.io/redhat-stable/jenkins.io.key

yum install jenkins -y
use the above commands to install.
systemctl status jenkins ---> used to check status of jenkins

systemctl start jenkins --> to start jenkins

systemctl stop jenkins --> to stop jenkins.
we can view jenkins page using <<public_ip_of_instance>>:8080

we have to enter the admin password for the first time when we are after the setup
which is available under /var/lib/jenkins/secrets/initialAdminPassword
[root@ip-172-31-87-39 ~]# cat /var/lib/jenkins/secrets/initialAdminPassword
1a321442680b4bd6889eb324d5d50daf
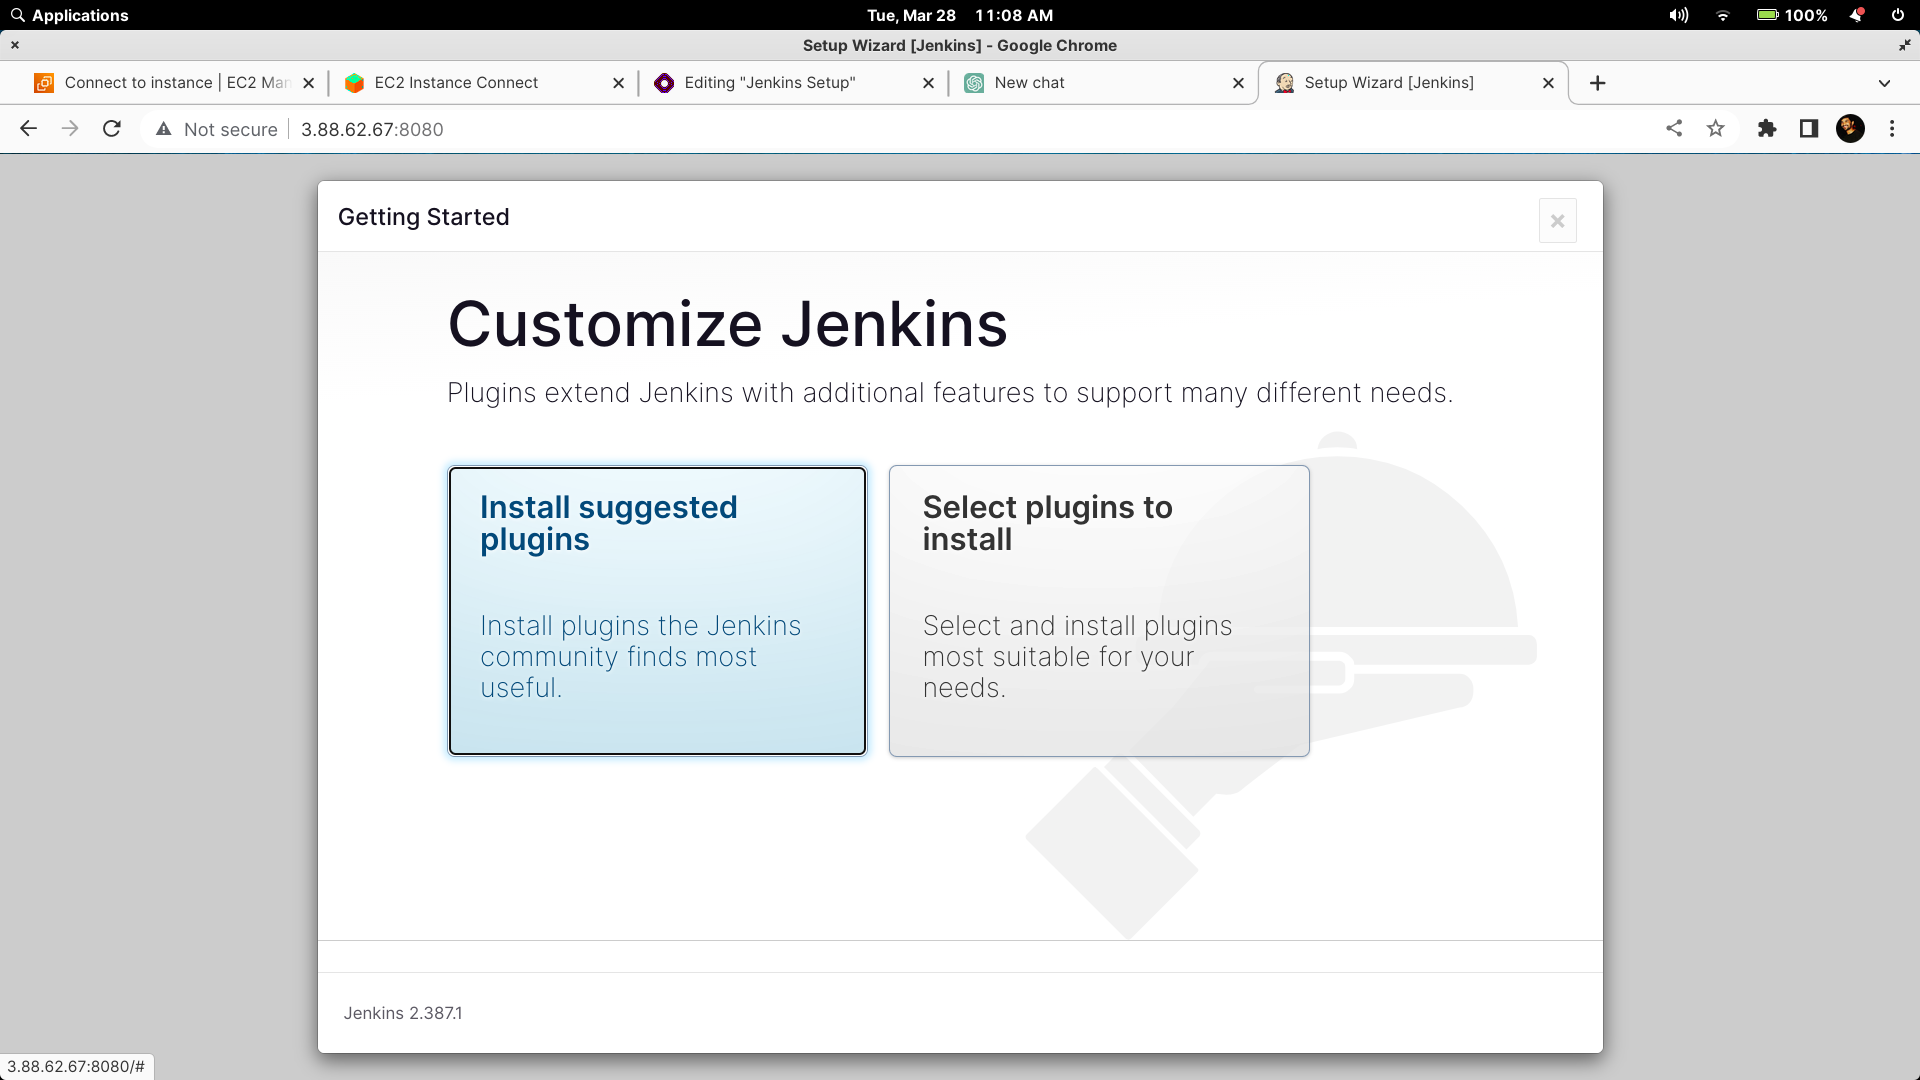
It's recommended to install suggested plugins.

After successfully installing the suggested plugins, we will be able to see the screen shown above
We have the option to skip user creation and proceed as an administrator.

Congratulations! We have successfully set up Jenkins and are ready to start building and testing our projects.